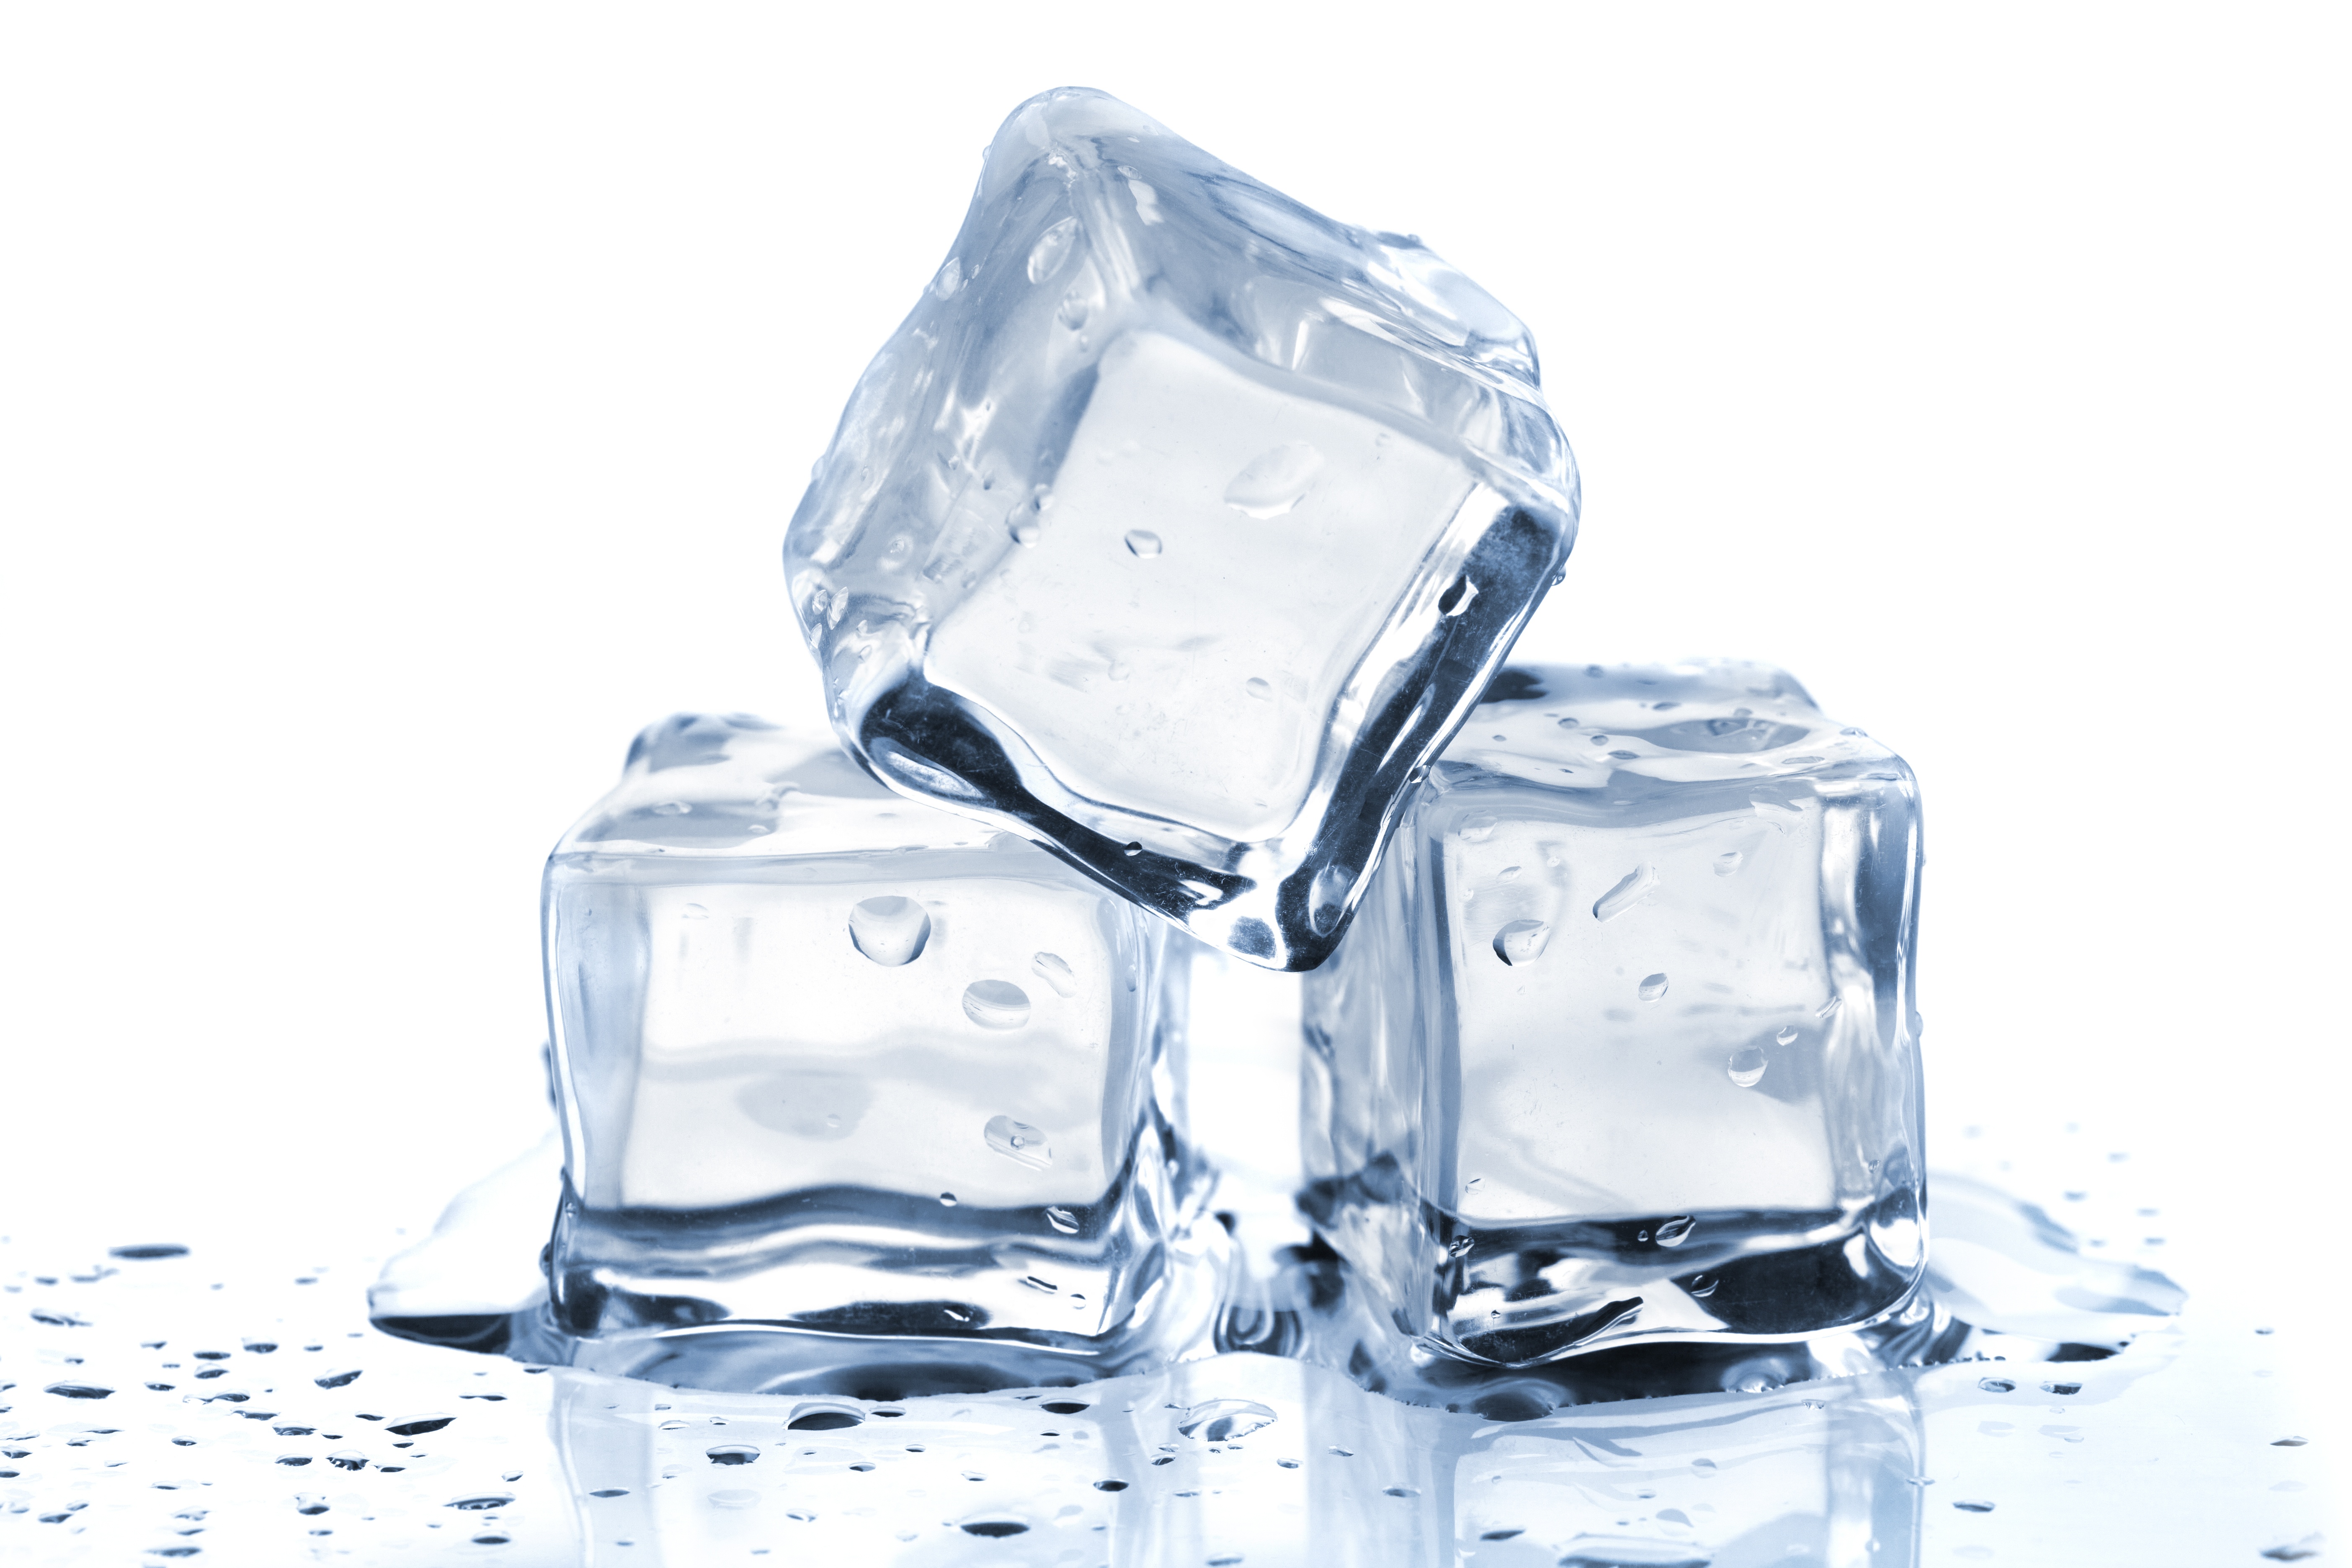
How To Defrost A Freezer
Your freezer is one of the most important appliances in your home, keeping your food fresh and storing items of food for future use. Many new freezers have a feature called self-defrost, this stops ice building up. However, if you have an older freezer, you’ll probably have to do this manually.
If you let ice build up on the walls of your freezer, you’re not just reducing its efficiency, you’re also taking up more room, meaning space for more items is limited.
If your freezer is starting to look like an ice room, then you may want to follow these next recommended methods to defrosting your freezer. It’s important to remember that no matter what method you choose, make sure that the freezer is unplugged.
How often should you defrost your freezer?
No matter what type of freezer you own, it’s recommended that you defrost your freezer once every year, or when ice becomes noticeably thick.
Preparation…
Before you can start defrosting there’s a few steps you must take:
- Remove all items out of the freezer, keeping everything in a cooler or a second freezer if you have one. If you don’t have any space to put the items, then try to eat everything in the freezer in the weeks before you decide to defrost.
- Unplug the appliance and use old towels or something that is waterproof like a shower liner, this will soak up the water when the ice melts.
The methods to defrosting a freezer:
1: Wait for the ice to melt
This is probably the most obvious method, just open the door and wait for the ice to melt. It’s very simple however it probably takes the longest, especially if it’s the winter or you’re in a cool area. All you need to do is leave some old towels to soak up the water or mop the floor every now and then and you are free to get on with your day.
2: Use a fan
If you choose to defrost your freezer during summer, then this may be a good method. By using a fan, you will help circulate warm air around the freezer. This is the same as the first method, however the fan will speed up the process. This method will work best if the air is warm, hence why this is the best method during summer. This method still takes some time; however, it is quicker than the first method.
3: Use a Blow Dryer
This method can be dangerous, however if you use the right safety precautions this is perfectly safe. Make sure you stay clear of water, keeping the cord and the dryer away from any water or ice as this is a hazard. Don’t keep the hairdryer in one place as this can lead to your dryer overheating. The last thing is to ensure your dryer doesn’t get too close to the coils or sides of the freezer, this is because the heat can damage the inside of the freezer.
4: Place a bowl of hot water on the shelves
Again, to speed up the process you can place bowls of boiling water on each shelf, the steam from the hot water will melt the ice quicker. Once the ice starts to melt you can start to scrape the ice off the walls. You will have to replace the water every 10-15 minutes to keep the process going. To make sure you’re not damaging the shelves from the heat, place a towel under the bowls of hot water.
5: Hot Cloth and rubbing alcohol
If you’re looking to remove a thinner layer of ice rather than large chunks, then this method will be best for you. Dip an old rag in boiling hot water and pour rubbing alcohol onto it. Wipe around the ice on the edge of the freezer to loosen the areas. The ice should start melting quickly.
6: Using an ice scraper
This is probably one of the most popular methods to speed up the process of defrosting the ice. Just use a traditional ice scraper. Make sure to be careful when doing this as you don’t want to damage the wall of your freezer.
If you’re using a method that requires you waiting around, you can always use that time to clear out the freezer, get rid of any food that is past its expiration date.
A quick tip if you want to slow down the process of ice build-up; avoid over filling the freezer. The freezer needs space for cold air to circulate as this keeps things frozen and reduces the build-up of ice.
After you have defrosted:
Once all chunks of ice have been removed from the freezer walls you can place them in to the sink to melt completely. After you have done this it’s a good time to take the opportunity to give the inside of the freezer a quick clean with a piece of cloth and some soap. Rinse and dry and then wipe the door seals down as well for maximum efficiency. Once this is all done you can then restock the food content and plug the freezer back in.
If you’re tired of defrosting your old freezer then you may want to think of investing in a newer appliance with a self-defrost feature.
Dont forget here at Smart-Sure we offer fridge/freezer insurance from just £6.29 p/m. Get a quote today in seconds.


